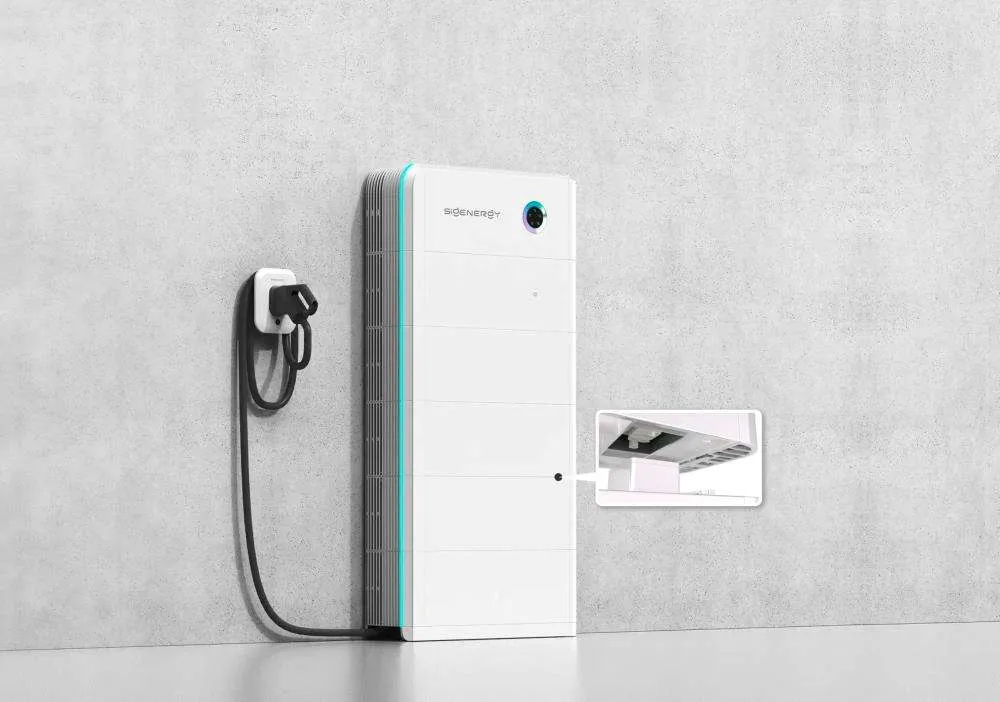
Commissioning an inverter is a critical step in the installation and activation of a solar energy system. This process ensures that the inverter, which converts the direct current (DC) generated by solar panels into alternating current (AC) used by most home appliances, is set up correctly and functioning optimally. Here’s what you need to know about commissioning an inverter and what to expect during the process.
What Does Commissioning an Inverter Mean?
Commissioning an inverter involves a series of tests and procedures to verify that the inverter and the overall solar energy system are installed correctly and operating as intended. This process typically includes:
- Verification of Installation: Ensuring that all electrical connections, mounting, and system components are installed according to manufacturer specifications and safety standards.
- System Configuration: Setting up the inverter’s software and hardware to match the specific requirements of the solar installation, including system voltage, frequency, and grid compliance settings.
- Performance Testing: Running tests to confirm that the inverter and solar panels are generating power efficiently and that the system is converting DC to AC properly.
- Safety Checks: Conducting safety tests to ensure that the system operates safely, including grounding and protection measures.
Steps in the Commissioning Process
1. Pre-Commissioning Inspection
Before powering up the system, a thorough inspection is conducted to verify that the installation meets all required standards and specifications. This includes:
- Visual Inspection: Checking all physical components for proper installation, secure mounting, and absence of damage.
- Electrical Connections: Ensuring all wiring is correctly connected, secure, and free of faults.
- Documentation Review: Reviewing installation documentation, including schematics and manufacturer guidelines.
2. Initial Power-Up
Once the pre-commissioning inspection is complete, the inverter is powered up for the first time. This step involves:
- Switching On: Turning on the inverter and monitoring it for any immediate faults or error messages.
- System Checks: Verifying that the inverter’s display or monitoring system is functioning and showing expected readings.
3. Configuration and Calibration
The inverter must be configured to match the specific parameters of the solar energy system. This includes:
- Setting Parameters: Configuring voltage, frequency, and grid compliance settings according to local regulations and system requirements.
- Software Updates: Installing any necessary firmware updates to ensure the inverter operates with the latest software.
- Calibration: Adjusting settings to optimize performance and ensure accurate energy conversion.
4. Performance Testing
Performance tests are conducted to ensure the system operates efficiently and generates the expected amount of power. These tests include:
- Power Output Test: Measuring the inverter’s power output and comparing it to expected values based on solar panel specifications and current sunlight conditions.
- Efficiency Test: Evaluating the efficiency of the DC to AC conversion process.
- Monitoring System: Ensuring that the monitoring system accurately tracks power generation, usage, and any potential issues.
5. Safety and Compliance Testing
Safety tests are crucial to ensure the system operates without posing risks. These tests include:
- Grounding Check: Verifying that the system is properly grounded to prevent electrical faults.
- Protection Devices: Testing circuit breakers, fuses, and other protection devices to ensure they function correctly.
- Grid Compliance: Ensuring the system complies with local grid regulations and standards, including anti-islanding protection (which prevents the system from feeding power into the grid during an outage).
What to Expect During Commissioning
Involvement of Professionals
Commissioning an inverter typically involves certified professionals, such as solar installers or electricians, who have the expertise and tools to perform the necessary tests and adjustments.
Timeframe
The commissioning process can take several hours to a full day, depending on the complexity of the system and any issues encountered during testing.
Documentation
After commissioning, you should receive comprehensive documentation detailing the tests performed, results, and any configurations made. This documentation is important for future maintenance and warranty claims.
Potential Issues and Troubleshooting
During commissioning, it’s possible to encounter issues that need troubleshooting, such as:
- Error Messages: The inverter’s display or monitoring system may show error codes that need to be addressed.
- Performance Anomalies: If the system’s performance doesn’t meet expected levels, further investigation is required to identify and rectify the cause.
- Safety Concerns: Any safety issues detected during testing must be resolved before the system can be fully operational.
Post-Commissioning: What Comes Next?
Once the inverter is commissioned, the system is ready to start generating and using solar power. Post-commissioning steps include:
- Monitoring: Regular monitoring of the system’s performance to ensure it continues to operate efficiently.
- Maintenance: Scheduled maintenance checks to keep the system in good working condition and address any issues promptly.
- Warranty Registration: Registering the inverter and other components with the manufacturer to activate warranties.
Commissioning an inverter is a vital step in ensuring your solar energy system operates safely and efficiently. By following a thorough commissioning process, you can optimize the performance of your system and ensure long-term reliability. At Sunollo, we are committed to providing high-quality solar solutions and support to ensure your system is set up for success. Visit our website to learn more about our innovative products and how Sunollo can help you achieve your energy goals with confidence and peace of mind.


