01 / DC
Roof → inverter.
Provide roof and inverter openings linked by empty conduit or casing.
Allow 2-inch conduit diameter or casing width, with a draw wire and accessible ends. Sunollo installs the DC cables.
 A&A / NEW LANDED HOMESHow we install
FOR ARCHITECTS, INTERIOR DESIGNERS & CONTRACTORS
Sunollo can manage the full installation or work with your architect, interior designer and contractors.
For additions and alterations (A&A), new builds and completed landed homes.
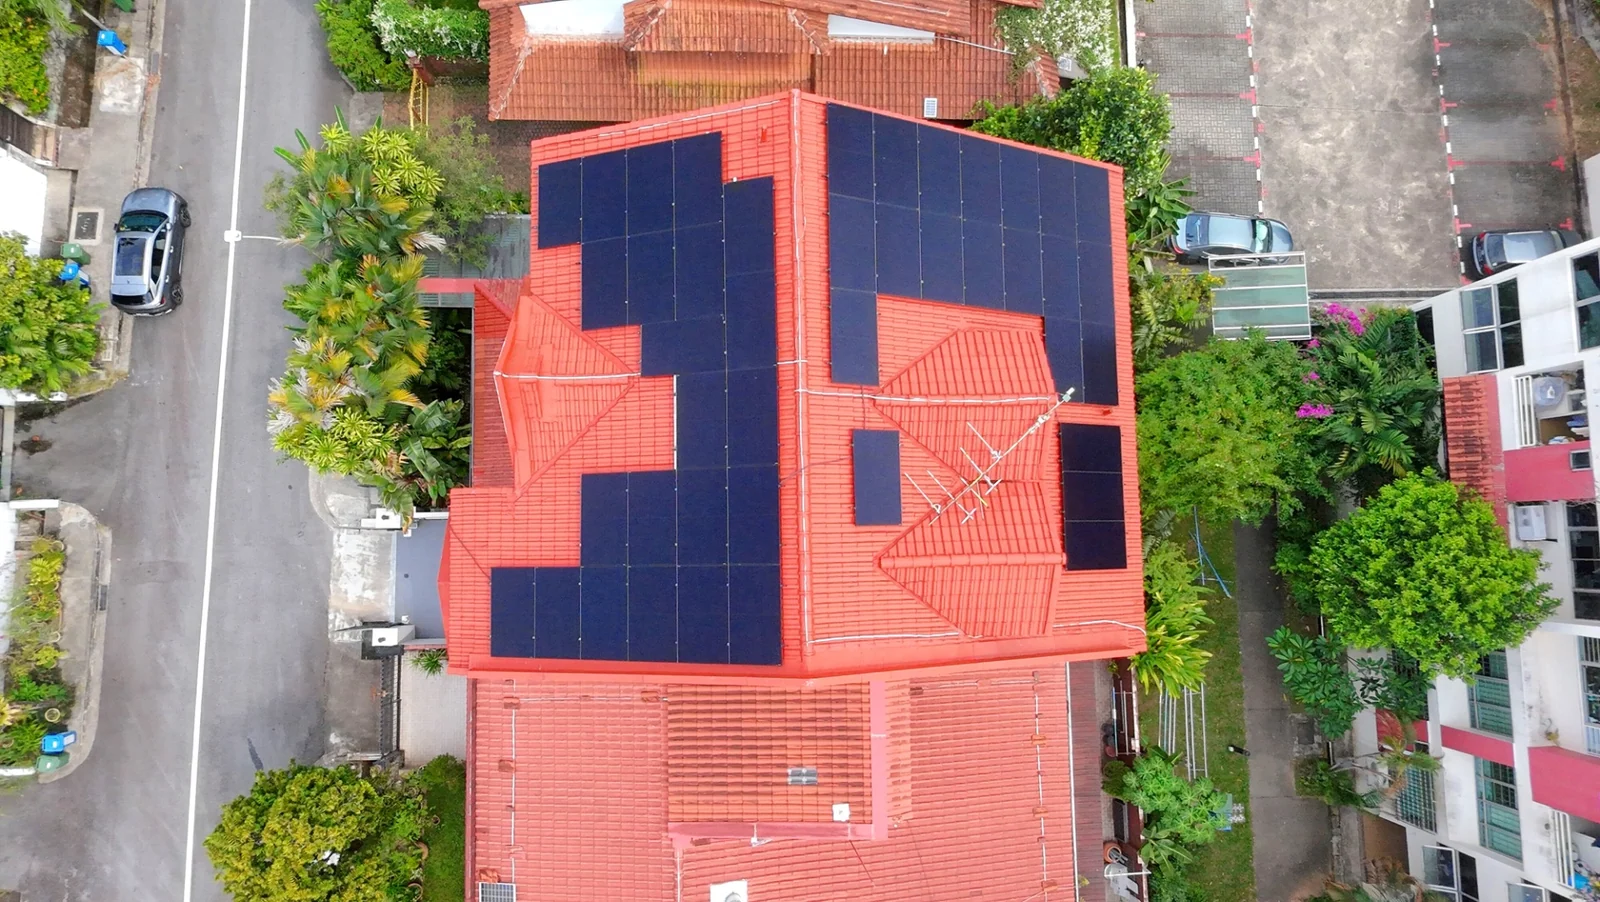
01 / ROOF MOUNTING
Replacing the tiles? Plan the solar mounts before the new tiles are laid.
© Sunollo
Sunollo and the roofer agree where mounts attach and how the roof stays watertight.
Where the approved roof detail allows, Sunollo fits the hooks or strips before tiling.
The roofer refits tiles and weatherproofs the fixing points. Sunollo then fits rails and panels.
Plan early so the roofer can finish around the mounts.
Early visits may cost extra for materials, delivery and labour. We agree costs before booking. Tell us if the roof plans change.
Share the roof plans and photos. We’ll check mounting and cable routes for the finished home.
02 / BEFORE WALLS & CEILINGS CLOSE
Confirm the routes before plastering or closing ceilings. Keep cable ends and connection points accessible.
PREPARE THE ROUTES / BEFORE FINISHES
Agree only the tasks you want your contractor to handle.
AC isolator beside the inverter
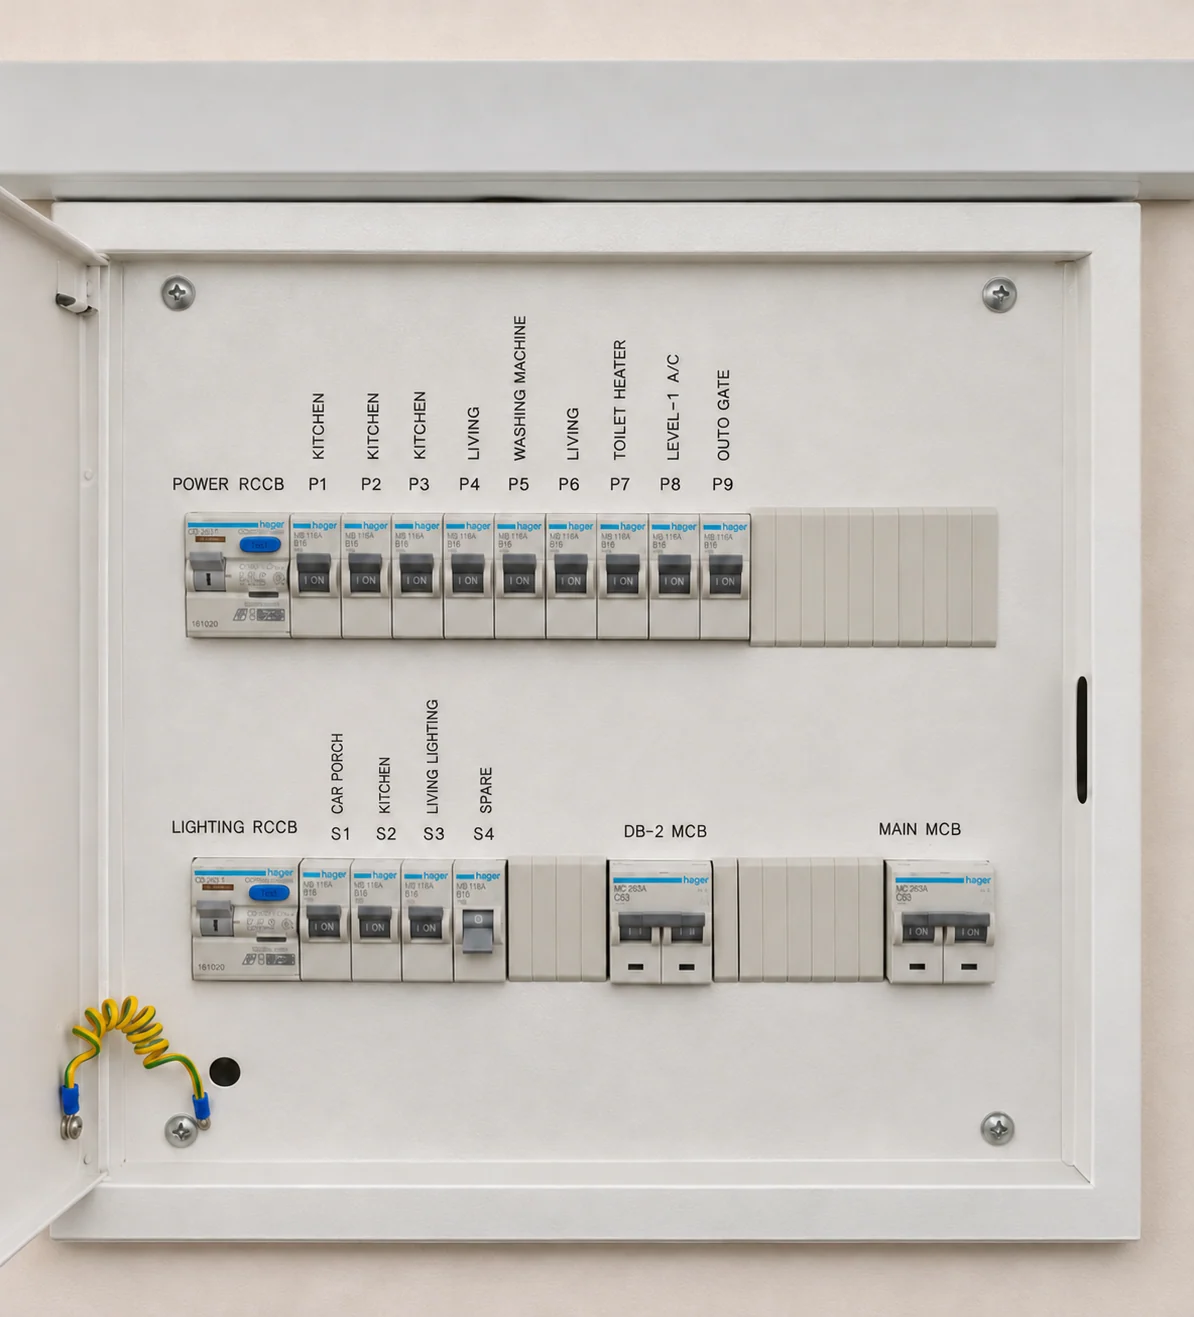
Main distribution board
Provide roof and inverter openings linked by empty conduit or casing.
Allow 2-inch conduit diameter or casing width, with a draw wire and accessible ends. Sunollo installs the DC cables.
Provide a separate cable route from the AC isolator beside the inverter to the main board.
Your contractor may supply and pull the AC cables to the approved schedule. Otherwise, leave the route empty with a draw wire for Sunollo.
Fit the approved AC isolator beside the inverter, and the PV breaker and RCCB at the board.
Use the approved models and ratings. The assigned Licensed Electrical Worker (LEW) coordinates connection and testing.
Allow 2 inches (about 50 mm) for planning. Sunollo confirms the final internal size, casing depth, bends and number of routes. Keep DC and AC separate.
Routes: Sunollo confirms the inverter position, openings, final conduit or casing size, and pulling points before work. Casing width alone does not confirm capacity.
Empty routes: Provide a draw wire, usable bends, accessible ends, supports and the required weather sealing and fire stopping.
Cables: Sunollo installs the DC cables. Agree who installs the AC cables. Connections and tests follow the approved electrical plan.
AC sizing: Use 63 A, 100 A or 200 A protection only where specified. Sunollo and the assigned LEW confirm cable sizes for the load, route and installation conditions—not from the home’s main breaker alone. Cable-sizing reference ↗
INVERTER LOCATION
Sunollo checks the wall, clearances, ventilation, weather exposure and service access before confirming the position.
Use a suitable wall, clear of doors, gates and vehicles. Leave room for servicing and cable routes.
INVERTER FAMILY
Allow room for the inverter and servicing. Reserve battery space if needed.
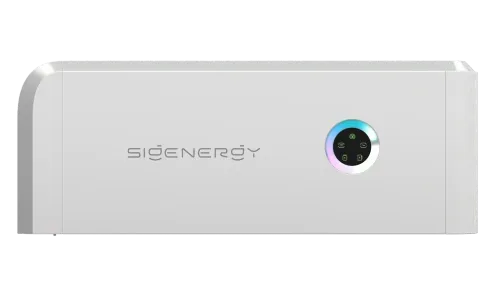
Confirm cable routes and connections before walls or ceilings close.
OPTIONAL ELECTRICAL HANDOFF
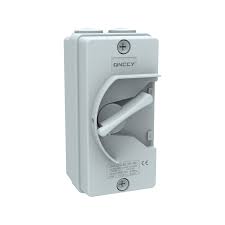
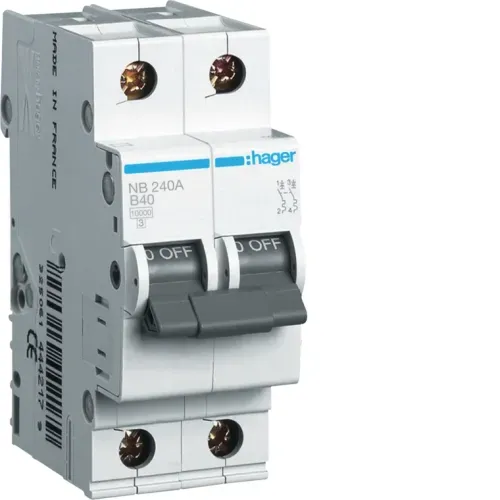
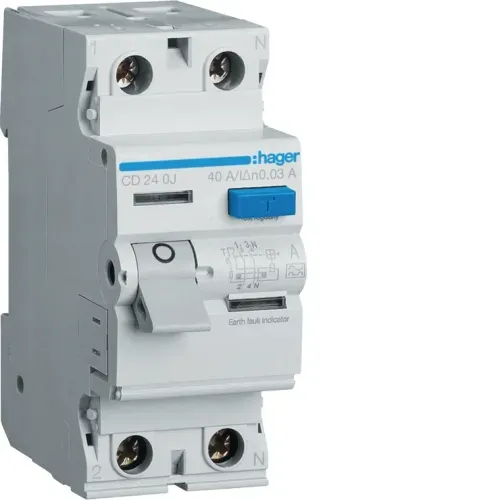
Examples—not an order list. Sunollo and the assigned LEW confirm the models, poles, amp ratings, cables and protection. 30 mA is leakage sensitivity, not the current rating.
WHERE DO THE MCB & RCCB GO?
Allow space for the PV MCB, RCCB, cables and connections.
Confirm the electrical plan before buying devices or changing the board. Earthing and any extra protection follow that plan.
OPTIONAL SHARED ACCESS
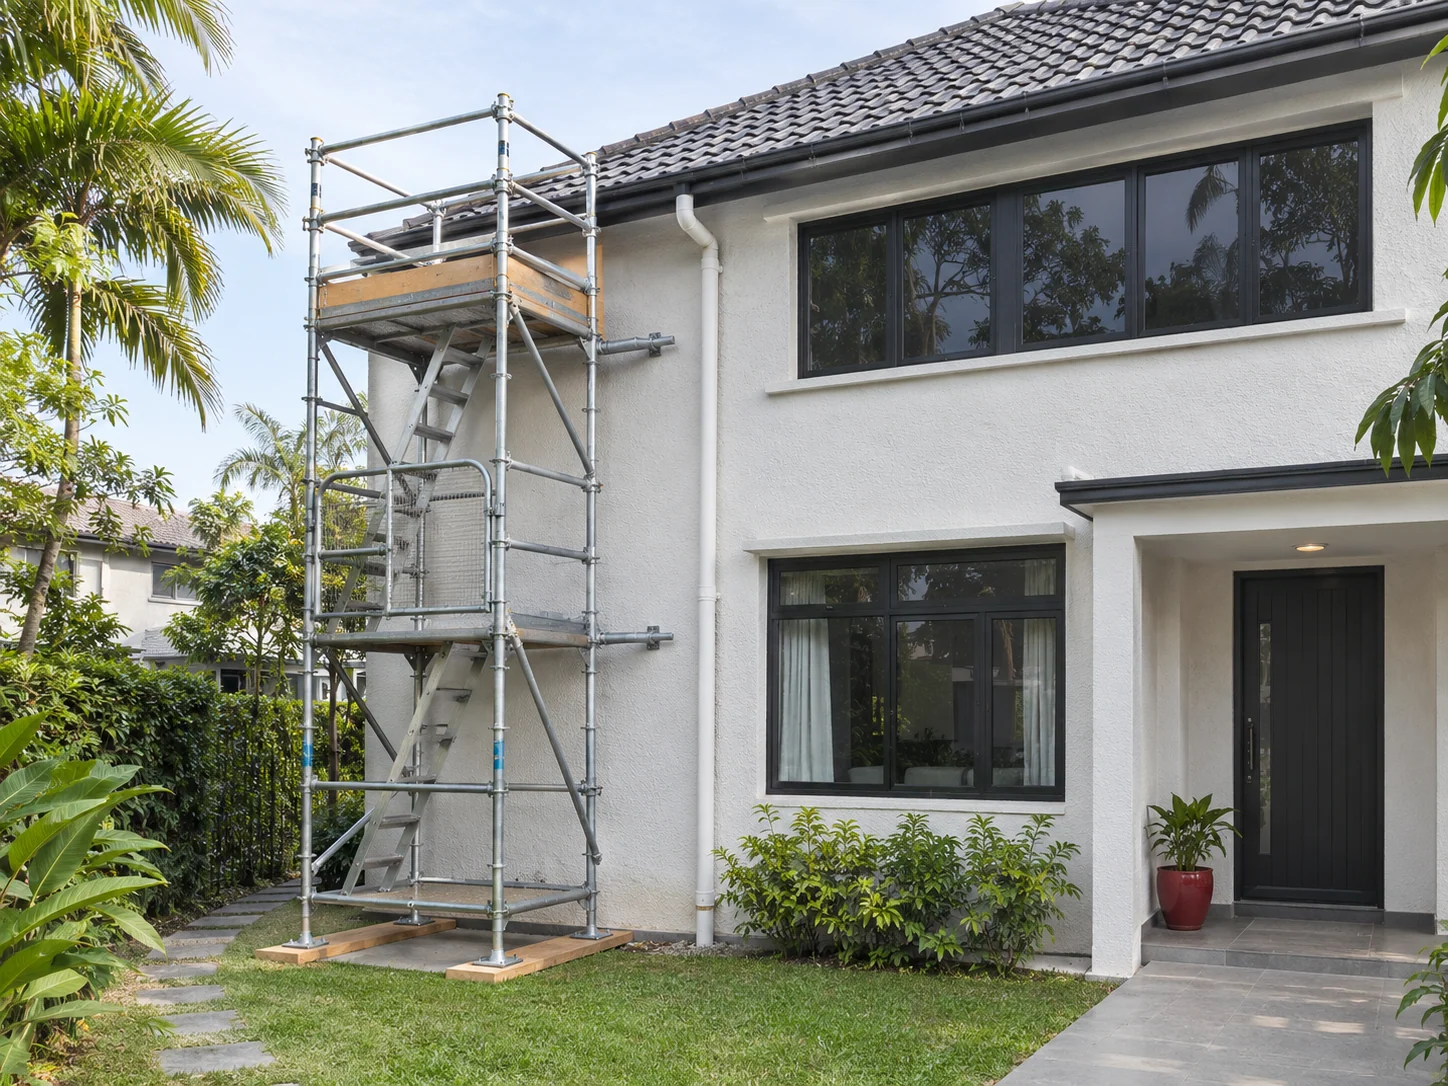
Share the scaffold’s available dates if you want us to use it. Otherwise, Sunollo can arrange safe access.
We check suitability and agree provider approval, access and responsibilities before use.
Share the datesIF YOU WOULD LIKE US TO COORDINATE
For coordination, send the items below to Sunollo. If we’re handling the full installation, we’ll survey and plan it with you.
THE SHARED PLAN
Optional checklist for shared work.