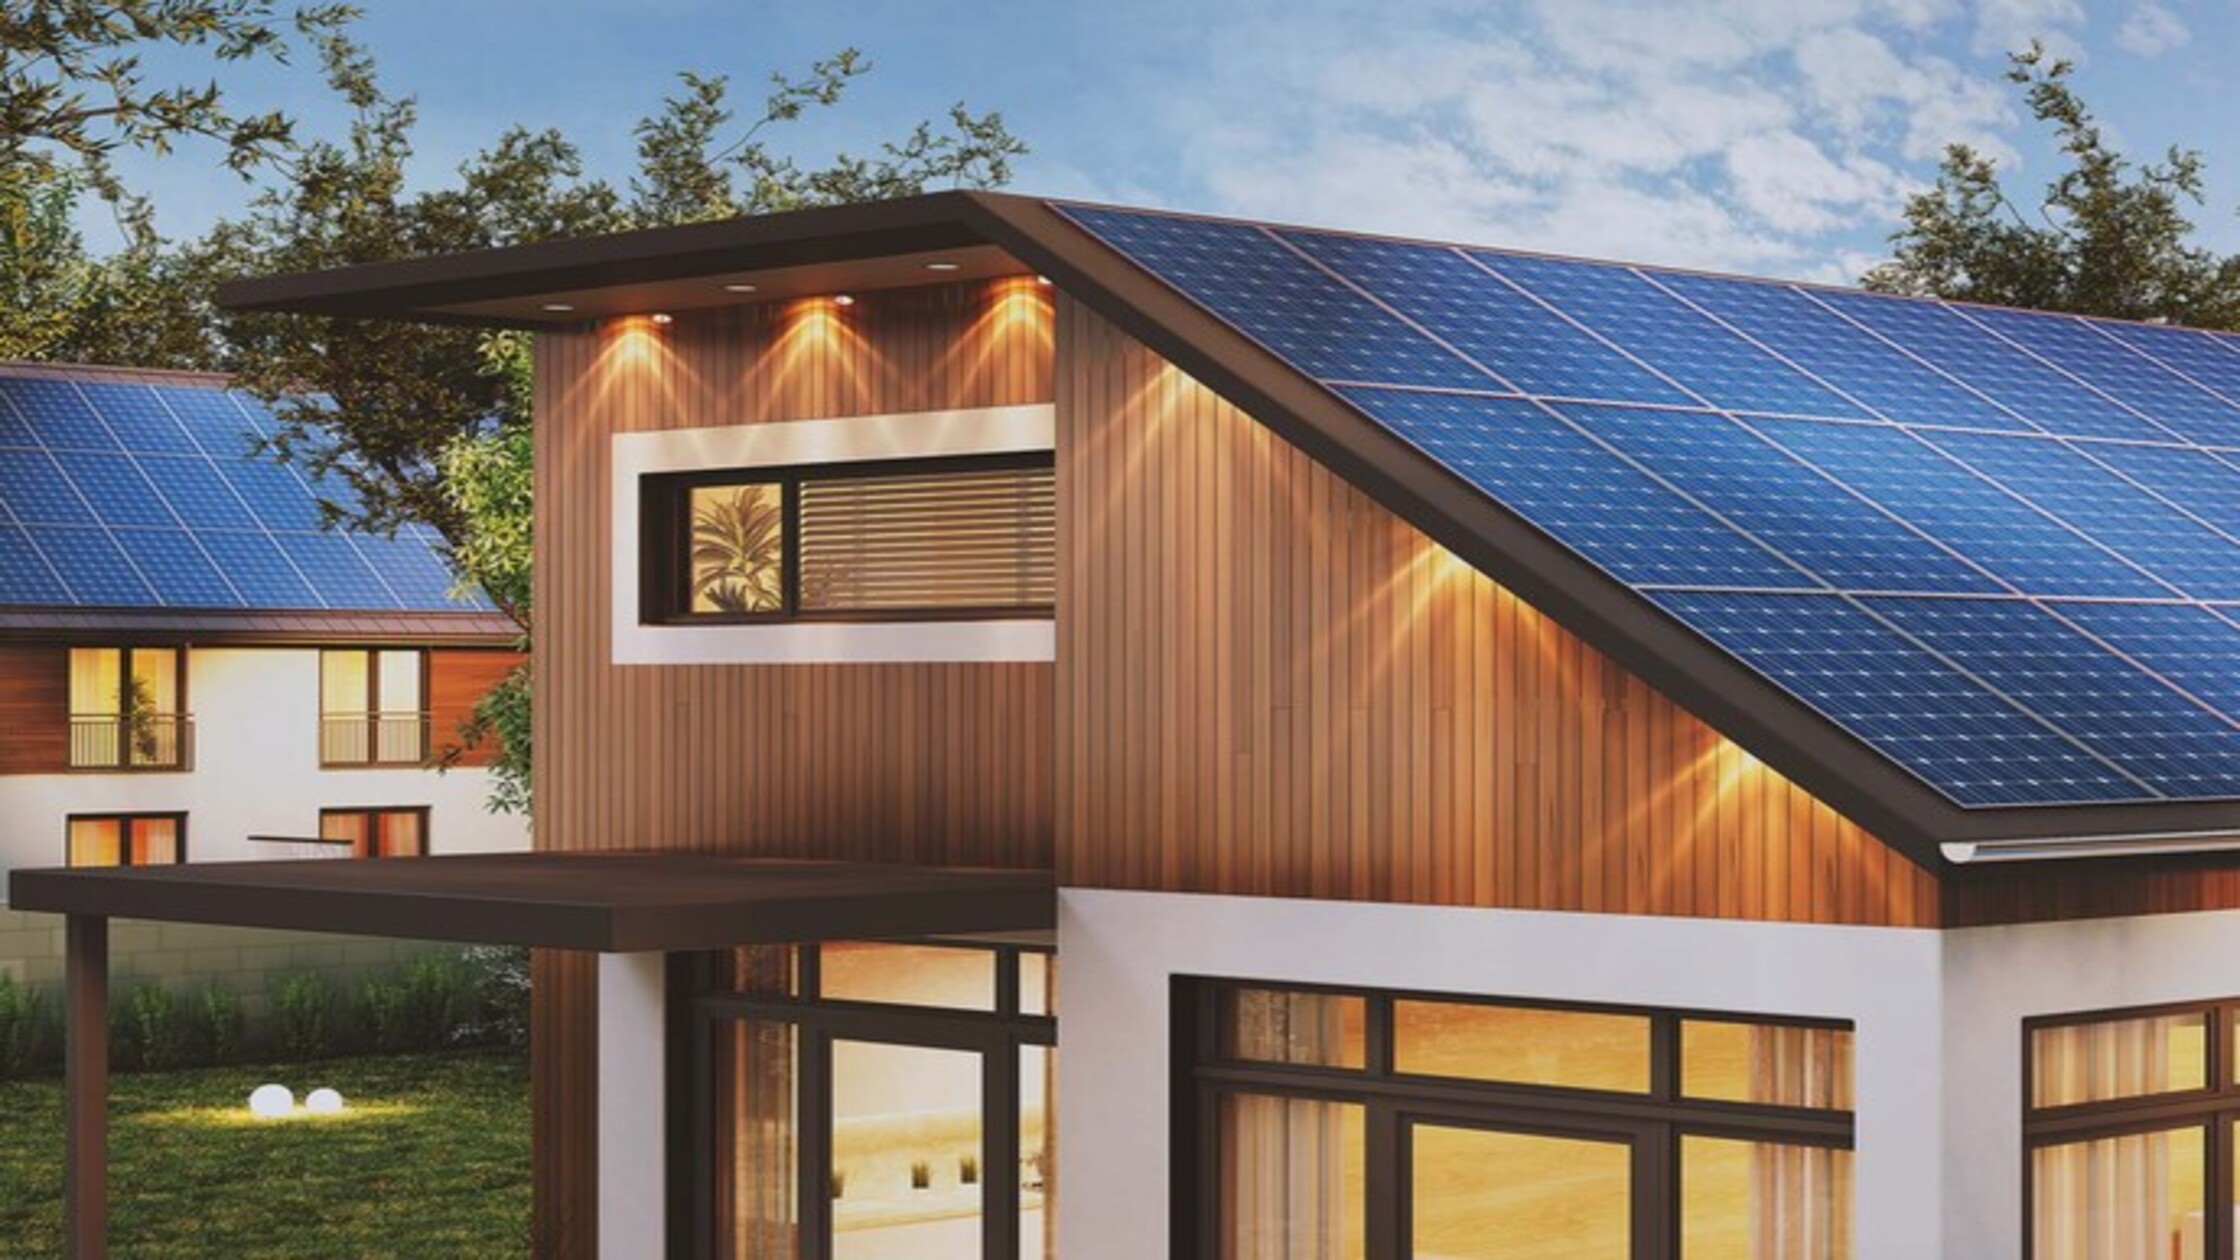
Singapore, with its tropical climate and abundant sunshine, is an ideal location for solar panel installations. Solar energy offers a sustainable and cost-effective way to reduce electricity bills and minimize carbon footprints. This article will guide you through the essential steps and considerations for installing solar panels on your rooftop in Singapore.
Assessing Your Rooftop Suitability
Before proceeding with the installation, it's crucial to evaluate your rooftop's suitability:
- Orientation and Tilt: Ideally, your roof should face south with a tilt angle of around 10-15 degrees for optimal sunlight exposure.
- Shading: Ensure there are no obstructions like trees or buildings that could cast shadows on your panels.
- Structural Integrity: Your roof must be strong enough to support the weight of the solar panels and mounting structures.
Engaging a Qualified Person (QP)
In Singapore, you must appoint a Qualified Person (QP) to oversee the installation process. A QP is a registered Architect or Professional Engineer with a valid practicing certificate. They will ensure compliance with regulatory requirements and obtain necessary approvals from authorities such as:
- Building and Construction Authority (BCA) for structural safety
- Urban Redevelopment Authority (URA) for planning permission
- Singapore Civil Defence Force (SCDF) for fire safety
- Civil Aviation Authority of Singapore (CAAS) for aviation zones
The Installation Process
The installation process typically involves the following steps:
- Scaffolding: If required, scaffolding will be set up to ensure safe installation.
- Solar Panel Delivery: The solar panels and other equipment will be delivered to your site.
- Mounting Frame Installation: Mounting frames will be securely attached to your roof.
- Solar Panel Attachment: The solar panels will be connected to the mounting frames and wired together.
- Inverter Installation: A solar inverter will be installed to convert DC electricity from the panels into AC electricity for your home.
- Wiring and Connection: The solar system will be connected to your home's electrical grid.
- Testing and Commissioning: The system will undergo thorough testing to ensure it's functioning correctly. A Licensed Electrical Worker (LEW) will then commission the system, applying for necessary electrical licenses and assessing connection requirements.
Selling Excess Electricity
If you generate more electricity than you consume, you can sell the excess back to the grid under the Feed-in-Tariff (FiT) scheme. The FiT provides a fixed tariff for the electricity you export.
Key Considerations
- Financing Options: Explore various financing options such as loans, leases, or solar financing schemes.
- Maintenance and Monitoring: Regular maintenance is essential for optimal performance. Consider installing a solar monitoring system to track your system's output.
- Government Incentives: Take advantage of government incentives, including subsidies and tax rebates, to offset the initial cost of installation.
Conclusion
Installing solar panels on your rooftop in Singapore can be a rewarding investment, both financially and environmentally. By following these steps and considering the key factors, you can harness the power of the sun to reduce your electricity bills and contribute to a greener future.


